Laser Engraved Plexiglas Logo
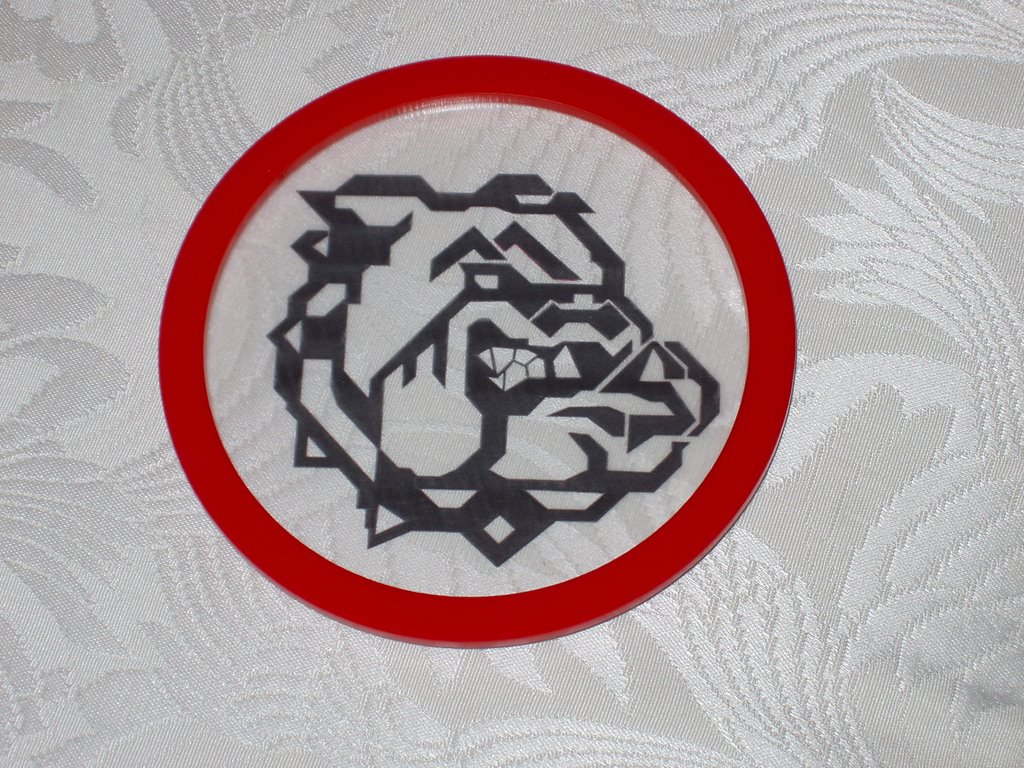 Laser engraved Bulldog Logo for the Mexico High School Football Team in Mexico, Missouri. The logo was designed to be inserted in the cover of a sports jersey display case.
Clear cast acrylic is engraved and then the engraving was color filled with black liquid shoe polish. A 1/8" thick red plastic ring was cut and glued to the engraved logo. This allowed a display cover to be cut and the Logo and flange to be dropped in to the hole and glued. The flange neatly hides the hole cut.
Getting the Logo.
Fist a paper copy of the logo was scanned and inserted into Corel Draw. The logo was traced with vector lines over the outside edges of the scanned logo and the logo was filled with black. The logo scan was erased and the vectorized logo was checked against the paper copy for accuracy. Circles were drawn around the logo for the cut of the logo and the cover ring flange.
Engraving and cutting.
The laser was setup with clear 1/8" thick acrylic. The filled areas of the logo were used to raster engrave the acrylic approximately 1/32" deep. The circle around the logo was vector cut to produce the disc of acrylic with the logo engraved into it.
The acrylic was changed to 1/16" thick red to match the school colors. Two vector cuts created the flange ring.
Coloring the Logo.
I used liquid shoe polish to color the logo. First, a thin coat was rubbed into the logo and the unengraved surface was wiped clean. After a second coat was applied and the unengraved surface was wiped clean. The logo was left to dry. Both the logo and the red ring were thoroughly cleaned and polished.
Welding the Ring to the Logo.
The red ring was set face down and the logo placed face down onto the ring. The logo was adjusted to be concentric with the red ring. Acrylic solvent was loaded on to the hypodermic welding nozzle, and carefully drawn the outer edge of the logo. You will see the solvent drawn between the logo and red ring due to capillary action. Nearly the entire contact surface will fill with the solvent. Let the parts rest and in a short time the solvent dissolves the two surfaces and the parts weld together.
Mounting the Logo
The logo is mounted into the acrylic cover of a jersey display frame. Measure the logo disk size and cutout a hole in the frame cover slightly larger positioned where you want it. Clean up the cut edges and polish the cover. Place the logo into the cove and hold in place with masking tape. Turn the cover over so that the logo is underneath the cover. Carefully solvent the logo ring to the cover. To keep the solvent from marring the cover, weld thru the joint between the logo and the cover. This should prevent the solvent from flowing out past the red ring and showing on the cover or the logo.
posted by MakeMaster at
10:14 PM
![]()
![]()

0 Comments:
Post a Comment
<< Home